So here we go. We looked at a million ideas, and ultimately we liked the magnet idea. We like posting save the dates from friends on our fridge, and we even keep the ones with pictures because they're so darn cute! So a picture on a magnet seemed simple enough, but we really wanted to design our own image. We had a picture all set - we chose one from some pictures our friend Rox took at the beach awhile back- and we knew we were working with the wine theme, so Terry set off to work.
Terry used Adobe Illustrator to create the image for the save the date. He created his own shapes for the grapes, leaves, and vines, and then we played around with colors and fonts. The design process took way longer than expected, especially because my adorable fiance is such a perfectionist. In the end, the result looked awesome!
Once we had the image, I purchased the magnets through Vista Print online. We chose the Large Business Magnets and uploaded Terry's design. Vista Print has tons of coupon codes around the Internet, so we got 50% off our total order. The magnets came within just a few days, and they were perfect! We didn't have to do any extra work beyond stuffing and sending!
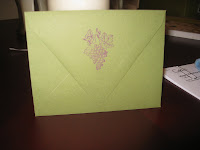
For the envelopes, we chose Paper Source's A2 envelopes in Moss, added a grape stamp to the back, and painstakingly wrote each address according to my etiquette book's guidelines. Terry picked up some cute wedding-themed postage stamps, and I found another great discount on personalized return address labels at Vista Print, complete with our picture (another from Rox).
 The finished save the date!
 The finished envelope (I know, super dorky), along with the return label.
 Scout helped as I stamped all the envelopes.
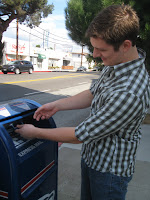
 Terry was thrilled that I took this cheesy
picture of him sending out the finished project.
The save the dates were super easy, fun, and a great first little project for us. On to the next!
No comments:
Post a Comment